How to make homemade pasta from scratch for beginners?
Learn how to make homemade pasta from scratch with simple ingredients. Easy step-by-step guide for beginners with tips from years of pasta making.
Disclaimer: As an Amazon Associate I earn from qualifying purchases from our site. Thank you for your support!
I’ll never forget the first time I learnt how to make homemade pasta from scratch. Honestly, I ended up with what looked like rubber bands that could’ve doubled as dog toys. The dough was everywhere, on my clothes, in my hair, stuck to the bench. But here’s the thing: even that disaster batch tasted incredible. That’s when I realised homemade pasta is one of those rare cooking projects where even your mistakes are delicious.
Making fresh pasta might seem intimidating, but it’s actually one of the most rewarding skills you’ll learn in the kitchen. Unlike store-bought dried pasta, fresh homemade pasta has this silky texture that just melts in your mouth. Plus, you only need a couple of basic ingredients that you probably already have. Whether you’re looking to impress someone at dinner or just want to understand what real Italian nonna cooking feels like, this guide will walk you through everything you need to know.
In this article, you’ll learn the exact flour-to-egg ratios that work, how to knead your dough properly (without killing your arms), and what to do when things go wrong, because they will, and that’s completely fine.
What Flour is Best for Homemade Pasta?
I kept using whatever plain flour was in my pantry, wondering why my pasta always turned out a bit… ordinary. Turns out, flour choice actually matters quite a bit.
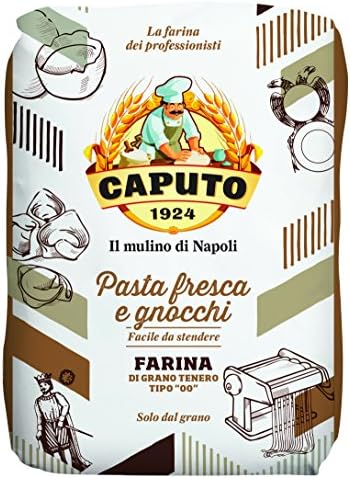
The gold standard for pasta is Italian “00” flour (doppio zero). This is milled super fine, almost like powder, and it creates pasta that’s incredibly smooth and tender. You can find it at most supermarkets now, usually in the international aisle, or grab brands like Caputo or Antimo Caputo from Amazon. However, it’s a bit pricey, and when I first started, I wasn’t ready to invest in fancy flour for my rubber band experiments.
Then there’s also semolina flour, which is made from durum wheat. This is the coarse, yellow stuff you’ll see in Italian delis. I use this for certain shapes like orecchiette or cavatelli because it holds its shape brilliantly. Some people mix semolina with 00 flour for a best-of-both-worlds situation. My go-to blend is about 70% 00 flour and 30% semolina when I’m feeling fancy, but honestly, plain all-purpose flour on its own has never let me down for basic fettuccine or pappardelle.
Pro tip: Whatever flour you choose, make sure it’s at room temperature before you start. Cold flour makes for stubborn dough that fights you every step of the way.
The Basic Pasta Dough Recipe
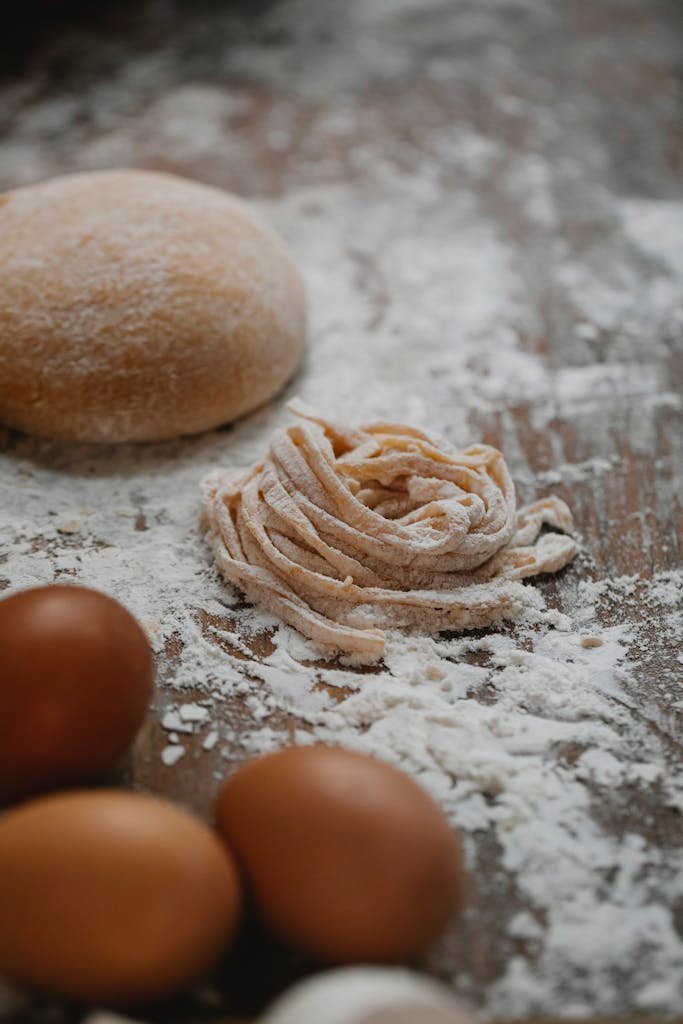
Let’s talk about the actual recipe, because this is where pasta making becomes beautifully simple. The classic Italian ratio is 100 grams of flour per egg. That’s it. That’s the magic formula that’s been used for hundreds of years.
For a standard batch that serves about three to four people, you’ll need:
- 300g flour (00, all-purpose, or a blend)
- 3 large eggs
- A pinch of salt (about half a teaspoon)
- Sometimes a splash of olive oil (maybe a teaspoon)
Now, I say “sometimes” with the olive oil because traditional Italian recipes don’t include it. But I’ve found that adding just a tiny bit makes the dough easier to work with. It’s not essential though, so don’t stress if you skip it.
The eggs are doing most of the heavy lifting here. They provide moisture, fat, and protein, which gives your pasta structure and that gorgeous golden colour. I always use room-temperature eggs because cold eggs don’t incorporate into the flour as easily and I learned that one the hard way when I had little egg chunks throughout my dough.
Some recipes call for egg yolks only, which makes for an even richer pasta. I do this when I’m making something special like ravioli or when I’ve got leftover yolks from making meringues. The ratio then becomes about 100g flour to two egg yolks, but you’ll need to add a tablespoon or two of water to get the right consistency.
Here’s what nobody tells you: these ratios are guidelines, not laws. Flour absorbs moisture differently depending on humidity, how it’s been stored, and even the protein content. Your eggs might be bigger or smaller than “large.” This is why making pasta is as much about feel as it is about measuring.
Do I Need a Pasta Machine to Make Pasta?
Short answer: Absolutely not. Long answer: But it does make your life easier.
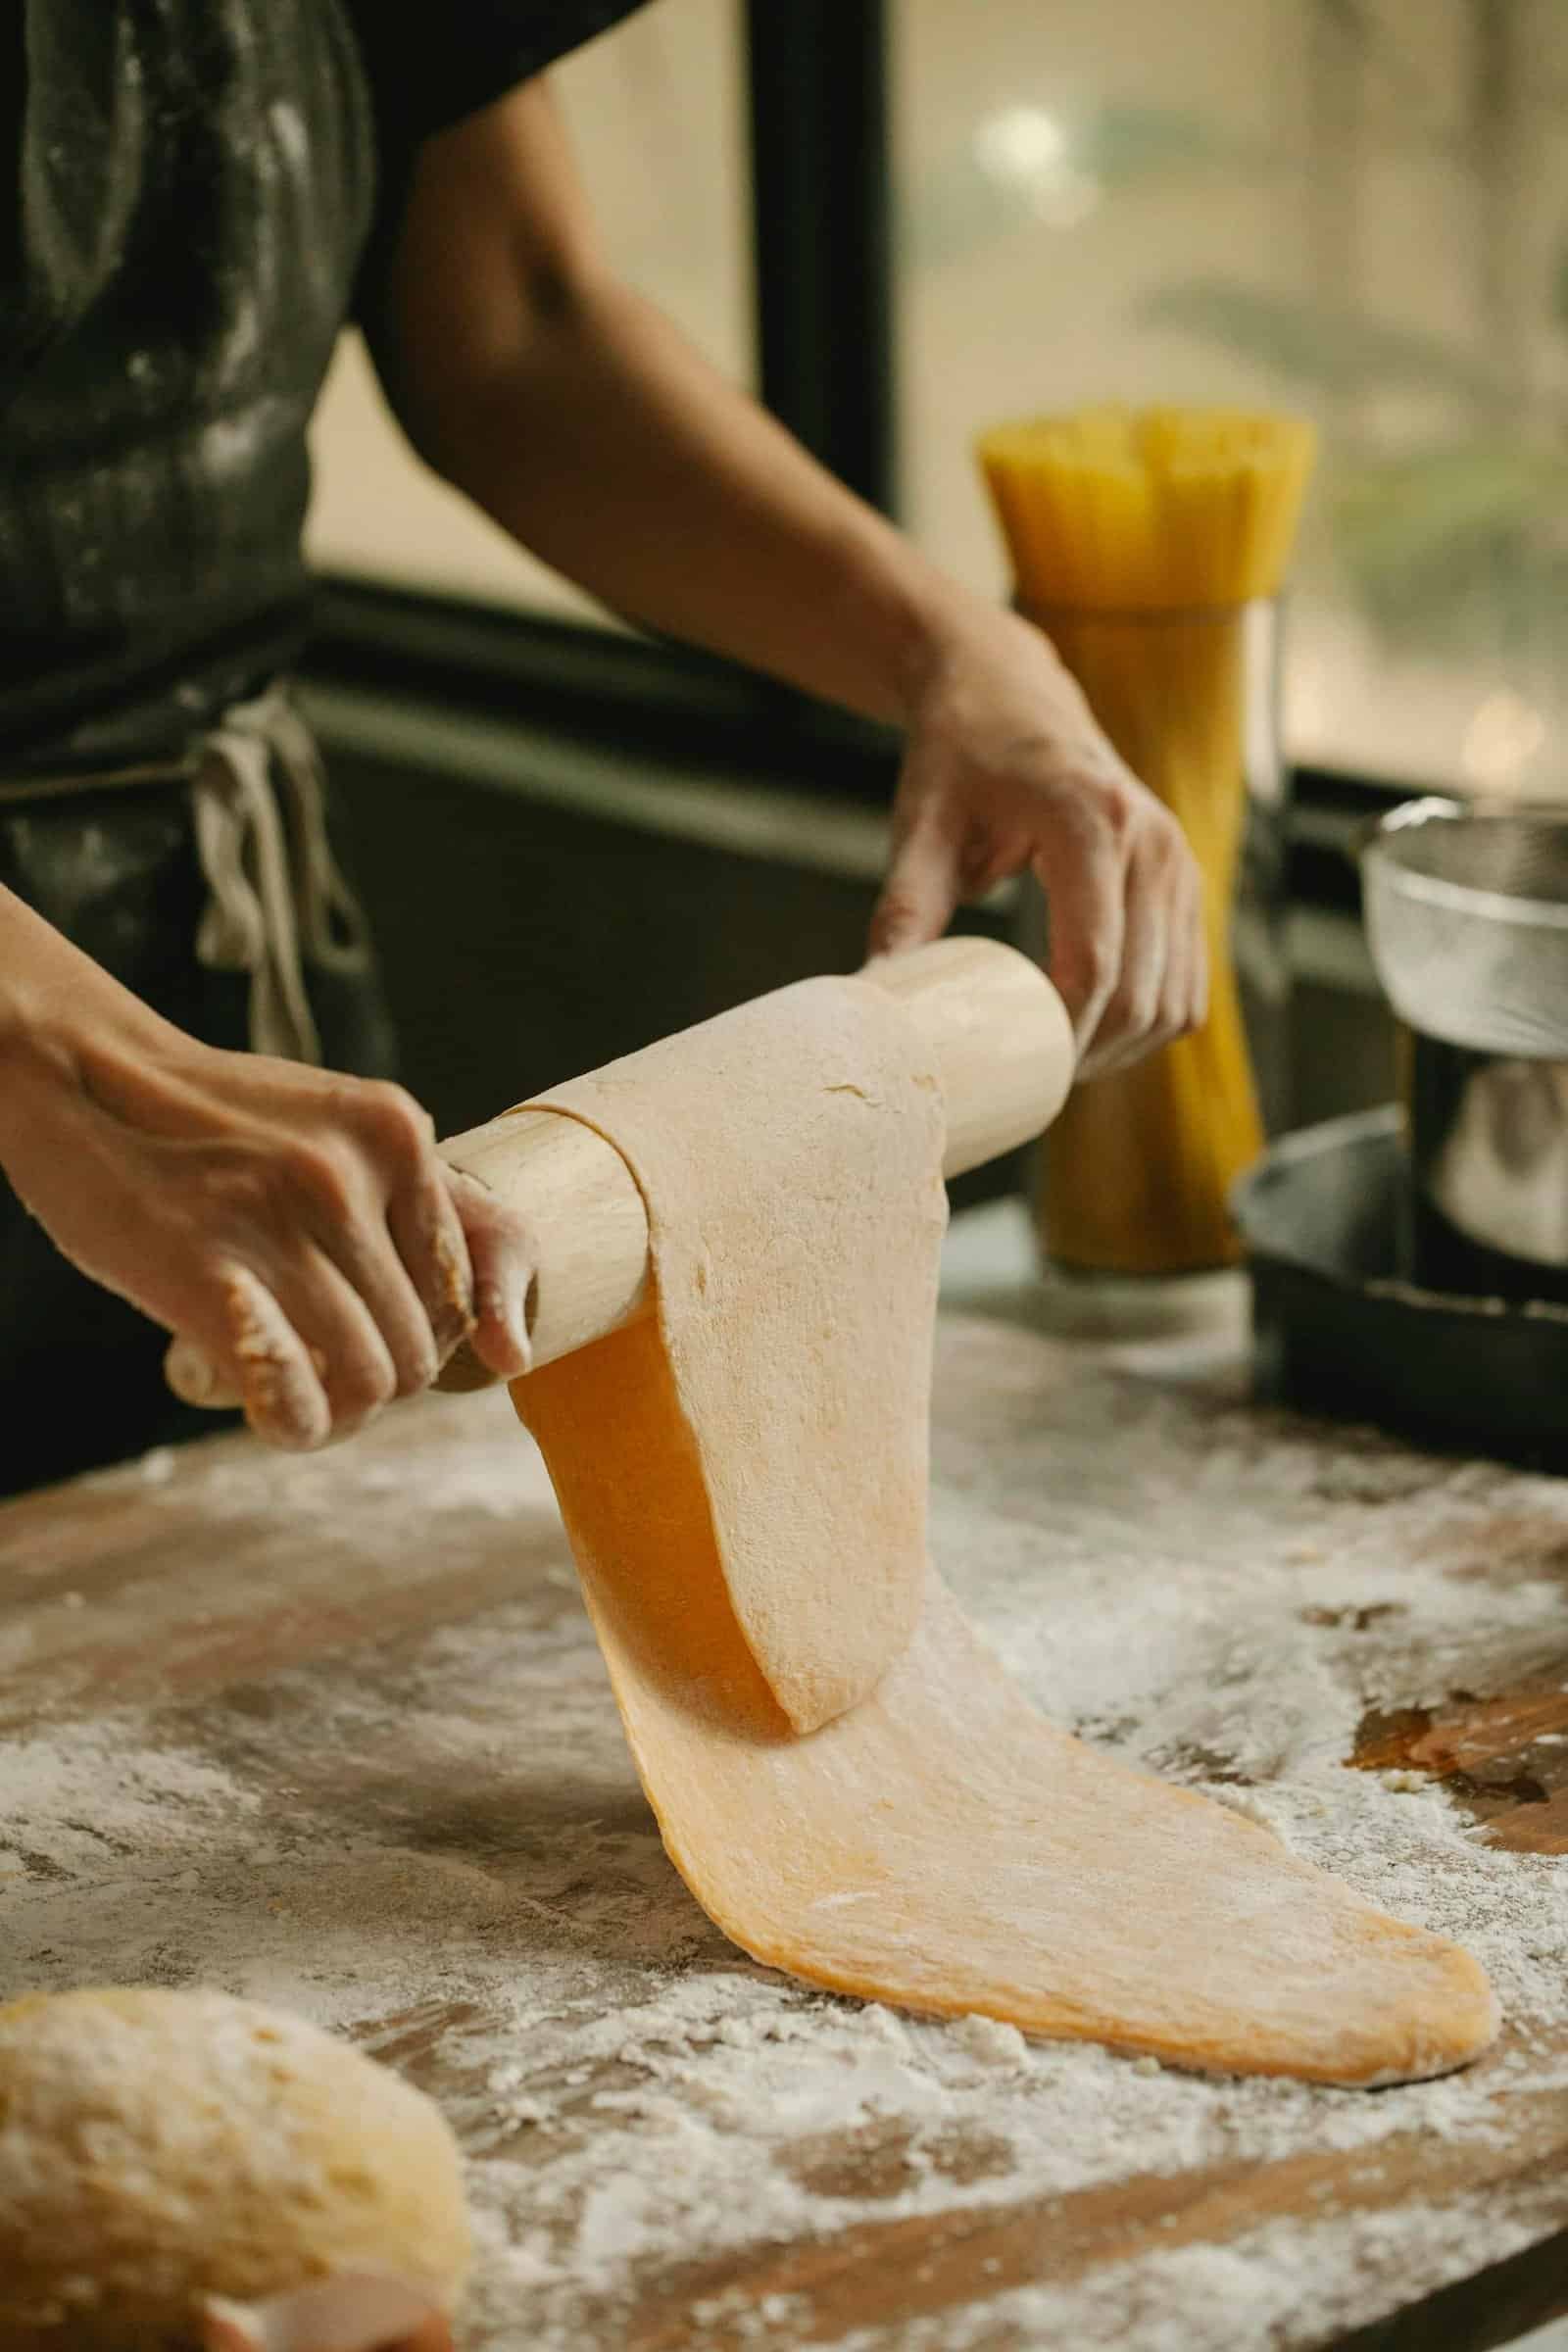
I made pasta by hand with a rolling pin for my first year, and honestly, it was fine. Sure, my arms got a workout that would make a gym instructor proud, and my pasta sheets weren’t always perfectly even, but they tasted fantastic. If you’ve got a decent rolling pin and a bit of elbow grease, you can make beautiful pasta without any special equipment.
That said, I eventually caved and bought a manual pasta machine, one of those hand-crank ones that clamp to your bench – and it changed everything. Suddenly I could get my pasta thin enough to actually see through it (the traditional test for sfoglia), and it took about a quarter of the time. You can grab a solid Atlas Marcato pasta machine on Amazon, and it’ll last you decades. My mum’s had hers since the 80s, and it still works perfectly.
The absolute essentials for hand-rolling pasta are:
- A good rolling pin (mine’s just a thick wooden dowel)
- A large, clean work surface
- A sharp knife or pizza cutter
- Patience (lots of it)
For those with a machine, you’ll also want:
- A sturdy bench or table to clamp it to
- A drying rack or clean tea towels
- Maybe a pasta bike (that wavy cutter for decorative edges)
Here’s the thing though: some traditional pasta shapes are actually easier by hand. Orecchiette, for example, needs to be formed with your thumbs. No machine will do that for you. So even if you invest in equipment, you’ll still use your hands plenty.

Step-by-Step Guide to Making Pasta Dough
Right, let’s get into the actual process. I’m going to walk you through exactly how I make pasta dough every single time, including the bits where you’ll probably swear at your bench.
Step 1: Create your flour well
Measure your flour onto a clean work surface and make a volcano shape with a well in the centre. The well needs to be big enough to hold your eggs without them running everywhere. Make your well bigger than you think you need.

Step 2: Add your eggs
Crack your eggs into the well, add your salt, and a tiny drizzle of olive oil if you’re using it. Use a fork to beat the eggs together, just like you’re making scrambled eggs. My friend’s nonna always said to “scramble them well, like you’re angry at them.”
Step 3: Start incorporating the flour
This is where it gets messy. Using your fork, start pulling flour from the inside walls of your well into the eggs. Work gradually, pulling just a bit at a time. You’re basically creating a thicker and thicker egg mixture. If your well breaks and egg starts escaping, use your hands or a bench scraper to build a little dam. Don’t panic—this happens to everyone.
Step 4: Bring it together Once the mixture becomes too thick to work with a fork, ditch it and use your hands. Start bringing all the flour together into a shaggy mass. It’ll look like a mess. That’s normal. Not all the flour will be incorporated yet, and that’s fine. You’ll work it in during kneading.
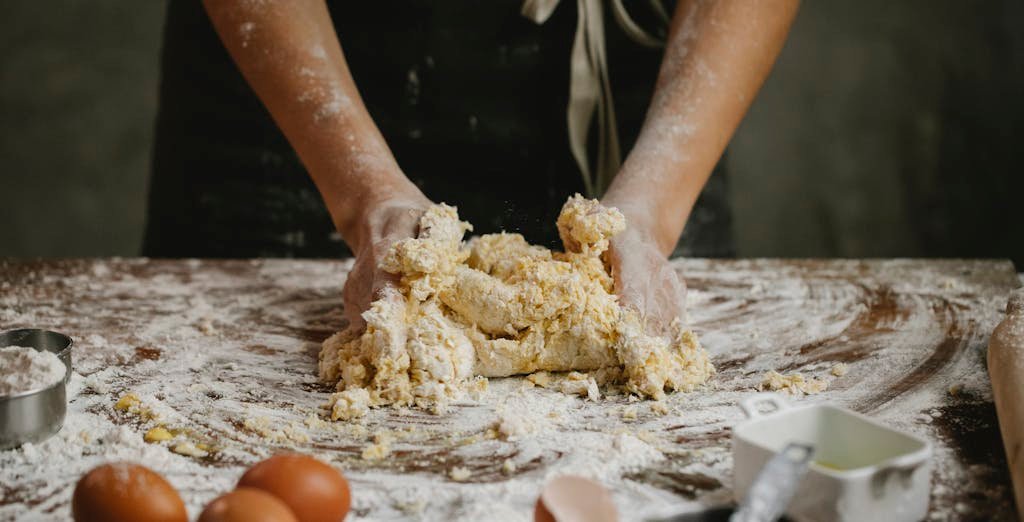
Step 5: Knead the dough Now comes the workout. Push the dough away from you with the heel of your hand, fold it back over itself, give it a quarter turn, and repeat. You want to knead for about 8-10 minutes. Your dough should transform from a rough, scraggly mess into a smooth, elastic ball. It should feel like your earlobe—weirdly specific, I know, but it’s the traditional test and it actually works.
If your dough is too dry and cracking, wet your hands slightly and keep kneading. If it’s too sticky, dust your bench with flour. The dough will tell you what it needs; you just have to listen.
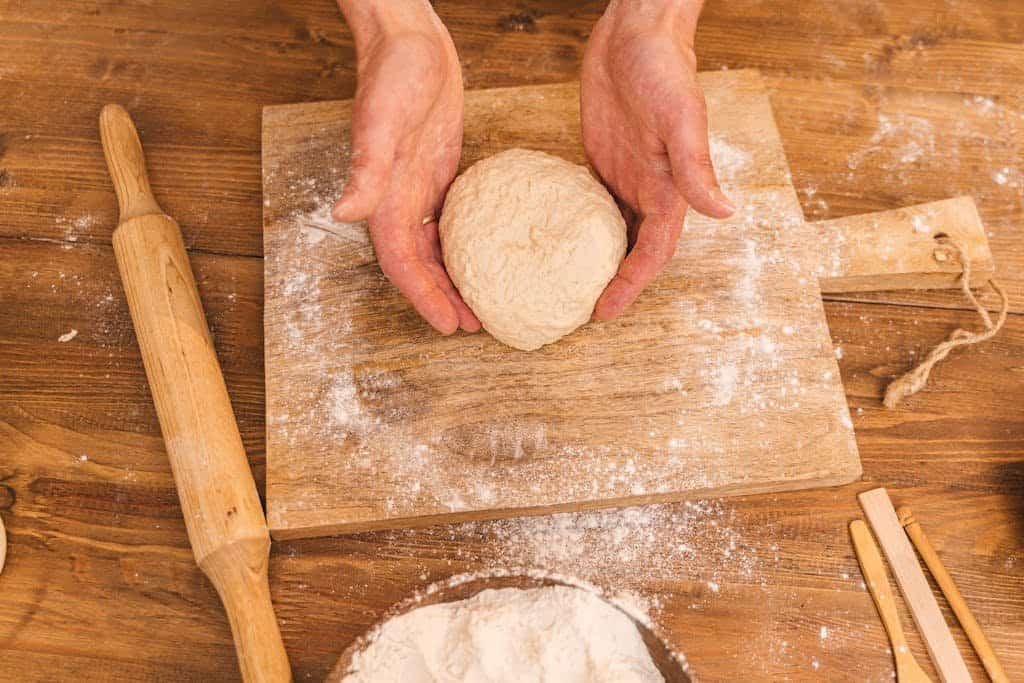
Step 6: Rest the dough Wrap your dough ball tightly in plastic wrap or cover it with an upturned bowl. Let it rest at room temperature for at least 30 minutes. This lets the gluten relax, which makes rolling out infinitely easier. I usually rest mine for an hour while I prep my sauce or clean up the explosion of flour on my kitchen.
Step 7: Roll and cut After resting, cut your dough into four pieces. Work with one piece at a time, keeping the others covered. If using a machine, start on the widest setting and pass your dough through 3-4 times, folding it in half between passes. Then gradually work down to thinner settings. For hand-rolling, flour your surface generously and roll from the centre outward, rotating the dough regularly to keep it round.
Cut your pasta into whatever shape you fancy—fettuccine, pappardelle, or even just rough squares for rustic pasta. Dust the cut pasta with flour or semolina to stop it sticking together.
Why is My Pasta Dough Too Sticky?
If I had a dollar for every time I’ve dealt with sticky pasta dough, I could probably buy a fancier Italian pasta machine. This is hands-down the most common problem beginners face, and I still deal with it sometimes depending on the weather.
The main culprit is usually humidity. On humid days, my flour just absorbs moisture from the air, which means my eggs add too much liquid. The fix is simple: add more flour. Start with a tablespoon at a time and knead it in thoroughly. Don’t dump half a cup in at once because you might overcorrect and end up with concrete.
Another reason for sticky dough is using eggs that are too large. “Large” eggs can vary quite a bit, and sometimes you just get a couple of absolute units. If your dough feels wet from the start, don’t be afraid to add flour before you even begin kneading.
Here’s a mistake I made repeatedly: over-mixing. When you work the dough too enthusiastically at the beginning, the eggs can start to warm up, making everything stickier. If this happens, pop your dough in the fridge for 10-15 minutes. The cool temperature will firm everything up.
Temperature is actually huge. If your kitchen is warm and you’ve got hot hands (like me—I’m basically a human heater), the dough will naturally be stickier. Some Italian cooks work on marble surfaces specifically because the stone stays cool. I don’t have marble counters, but I do sometimes chill my work surface with a bag of frozen peas beforehand on particularly hot days.
One trick that’s saved me countless times: semolina flour for dusting. Even if you made your dough with all-purpose or 00 flour, using semolina to dust your work surface and your cut pasta prevents sticking way better than regular flour. It’s coarser, so it doesn’t get absorbed into the dough as easily.
How to Know When Your Pasta Dough is Ready?
This is where pasta making becomes more art than science, and it’s honestly one of the most satisfying skills to develop. You’ll know your dough is properly kneaded when it passes a few key tests.
First, there’s the poke test. Press your finger into the dough about half an inch deep, then remove it. If the indentation springs back slowly and doesn’t completely disappear, your dough is ready. If it stays completely sunken, you need to knead more. If it bounces back immediately, you might’ve overdone it, but that’s pretty rare.
Then there’s the windowpane test, which sounds fancy but is super simple. Tear off a small piece of dough and gently stretch it between your fingers. If you can stretch it thin enough to see light through it without it tearing, your gluten is properly developed. If it tears immediately, keep kneading. I use this test less with pasta than with bread dough, but it’s a good indicator nonetheless.
The texture should be smooth – like, really smooth. When I first started, I thought “smooth” meant “not actively lumpy,” but actual proper pasta dough should feel like silk. No rough patches, no dry bits that haven’t been incorporated, no sticky spots. It should feel cohesive and alive in your hands.
My biggest mistake early on was not kneading long enough. I’d get to about five minutes, think “yeah, this looks alright,” and call it done. The pasta would tear when I tried to roll it, or it would be tough and chewy after cooking. Eight to ten minutes feels like forever when you’re doing it, but it’s absolutely necessary. Put on a podcast or some music and commit to the process.
After resting, your dough should be even more pliable. It shouldn’t fight you when you start to roll it. If it keeps springing back and won’t stay flat, it needs more resting time. The gluten strands need to relax, and there’s no rushing that.
Rolling and Shaping Your Pasta
Alright, this is where things get really fun. You’ve done all the hard work; now you get to turn your ball of dough into actual pasta shapes.
Whether you’re using a machine or rolling by hand, the key is to work gradually. With a machine, always start on the widest setting. Pass your dough through three or four times, folding it in half lengthwise between each pass. This isn’t just about making it thinner; you’re actually laminating the dough, which creates better structure. Then move to the next setting, and pass it through once or twice. Continue down the settings until you reach your desired thickness.

For fettuccine or tagliatelle, I usually stop at setting 6 on my machine (out of 9). For ravioli or delicate stuffed pastas, I’ll go to 7 or even 8. For hand-rolled pasta, aim for about 2-3mm thick for ribbons, thinner if you’re confident.
Here’s something that frustrated me for ages: trying to roll out the entire ball of dough at once. Don’t do this. Cut your dough into quarters and work with one piece at a time, keeping the rest covered. It’s so much easier to manage, and your arms will thank you.
When rolling by hand, flour your surface generously. Roll from the centre outward, rotating your dough a quarter-turn regularly. This keeps it roughly circular and ensures even thickness. If it starts to stick, add more flour. If it keeps shrinking back, let it rest for five minutes.
For cutting, you’ve got options. Long noodles like fettuccine or pappardelle are the easiest for beginners. Once your sheet is rolled out, dust it well with flour (or better yet, semolina), fold it loosely like an accordion, and slice across with a sharp knife. Unfold immediately and toss with more flour to prevent sticking.
Shapes for beginners include:
- Fettuccine: About 6mm wide ribbons
- Tagliatelle: Slightly wider, about 8mm
- Pappardelle: Big, bold ribbons about 2cm wide
- Maltagliati: Literally “badly cut”—just rough triangles or diamonds, perfect for rustic soups
I always make pappardelle when I’m feeling lazy because uneven edges are part of the charm. Nobody’s measuring your pasta width with a ruler.
Can You Freeze Homemade Pasta?
Yes! And honestly, making a double batch and freezing half has been perfect for weeknight dinners. Fresh pasta freezes brilliantly, and cooking it from frozen is almost as easy as cooking it fresh.
Here’s my method: After cutting your pasta, dust it generously with semolina flour. Form it into little nests if you’ve made long noodles, or spread it out in a single layer if you’ve made shapes. Place them on a baking tray lined with baking paper and pop the whole tray in the freezer. Once the pasta is frozen solid (usually after about 2 hours), transfer the pieces to a freezer bag or container. This two-step process prevents the pasta from freezing into one giant clump.
Frozen pasta keeps for up to three months, though I usually use mine within a month because, let’s be honest, homemade pasta doesn’t last long in my house. When you’re ready to cook it, don’t bother thawing, just drop it straight into boiling water. It’ll take maybe 30-60 seconds longer to cook than fresh pasta.
For stuffed pastas like ravioli or tortellini, the process is the same, but be extra gentle when transferring them to avoid breaking the seals. I sometimes individually freeze larger ravioli pieces before bagging them up.
One thing to avoid: refrigerating fresh pasta for more than a day. It gets weirdly soggy and can develop off flavours. Either cook it the same day you make it, or freeze it. There’s no in-between.
If you want to dry your pasta instead of freezing it, hang it over a pasta drying rack, a clean broomstick between two chairs, or even just drape it over the back of a chair. Let it dry completely until it snaps when bent, then store in an airtight container. Dried homemade pasta keeps for weeks and cooks up almost like fresh.
Cooking Fresh Homemade Pasta
This is where a lot of people who nail the pasta-making bit accidentally stuff up the final product. Fresh pasta cooks completely differently than dried pasta, and if you walk away for even a minute, you might miss the window.
First things first: use a large pot with plenty of water. I’m talking at least 4-5 litres for 400g of pasta. Fresh pasta releases more starch than dried, and if your water’s too crowded, you’ll end up with gluey, sticky noodles. Salt your water generously—it should taste like the sea. I use about a tablespoon of salt per litre of water.
Bring your water to a proper rolling boil before adding the pasta. Drop in your pasta and give it a gentle stir immediately to prevent sticking. Fresh pasta wants to clump together, especially in those first 30 seconds.
Here’s the crucial bit: fresh pasta cooks in 2-4 minutes. That’s it. Sometimes it’s done in 90 seconds. I’m not exaggerating. The first time I made fresh pasta, I wandered off to answer a text message, came back three minutes later, and had mush. Set a timer for two minutes and start tasting.
The traditional test is to fish out a piece and bite it. You’re looking for al dente, tender but with a slight firmness in the centre. It should have a bit of bite but not be crunchy or hard. Unlike dried pasta, where there’s a clear difference between underdone and al dente, fresh pasta has a much narrower window.
For different pasta types:
- Angel hair/thin noodles: 1-2 minutes
- Fettuccine/tagliatelle: 2-3 minutes
- Pappardelle/wider ribbons: 3-4 minutes
- Stuffed pasta (ravioli): 4-6 minutes
When your pasta’s ready, don’t just dump it in a colander. Use tongs or a spider to transfer it directly to your sauce pan, bringing a bit of pasta water with it. That starchy water helps your sauce cling to the pasta. If you’re not saucing immediately (though you should be), toss the drained pasta with a tiny bit of olive oil to prevent sticking.
One final tip: Always save a cup of pasta cooking water before draining. This liquid gold contains starch that can fix a too-thick sauce or help a sauce emulsify. I keep a mug by the stove specifically for this.
Your Pasta Journey Starts Now
Look, I could sit here and tell you that making pasta from scratch will change your life, but that feels a bit dramatic. What I can tell you is this: it’s one of those rare cooking skills that’s both meditative and immediately rewarding. Yeah, your first batch might be wonky, and you’ll probably swear at your dough at least once. But by your third or fourth attempt, you’ll find a rhythm. Your hands will know when the dough needs more flour without you thinking about it.
The beauty of pasta making is that there’s always more to learn. Once you’ve mastered basic egg pasta, you can explore eggless doughs, different flour blends, wild shapes, stuffed pastas, coloured pastas with spinach or beetroot. It’s a rabbit hole, but a delicious one.
Start simple. Make a basic fettuccine with butter and parmesan. Get comfortable with the feel of the dough. Then experiment. Try that semolina blend. Make pappardelle for a hearty ragù. Have fun with it, and don’t stress about perfection.
I’d love to hear how your first batch turns out. Did your dough fight you? Did you accidentally make pasta soup? Drop a comment below with your pasta-making victories or disasters—trust me, we’ve all been there, and there’s no such thing as a stupid question when it comes to learning something new in the kitchen. Now get in there and make some pasta!