11 Simple No-Bake Desserts: Easy Recipes for Everyone
Simple no-bake desserts that require no oven! Easy recipes with common ingredients, perfect for beginners and hot summer days. Ready in minutes!
Disclaimer: As an Amazon Associate I earn from qualifying purchases from our site. Thank you for your support!
According to recent surveys, nearly 60% of home bakers admit they’ve completely ruined a cake or pastry because of temperamental ovens. I used to be one of them! There I was, sweating over a Victoria sponge that came out looking more like a deflated football than a proper cake. That’s when I discovered the absolute magic of no-bake desserts, and honestly, it changed everything.
Look, I get it. Sometimes you just want something sweet without the faff of preheating ovens, watching temperatures, or dealing with the inevitable washing up of seventeen different baking tins. No-bake desserts are brilliant because they’re accessible to everyone – whether you’re a complete beginner, dealing with a broken oven (been there), or simply cannot be bothered to turn on the heat during a scorching summer day.
In this guide, I’m sharing my favourite no-bake dessert recipes that actually work. These are tried and tested in my own kitchen, complete with the mistakes I’ve made so you don’t have to. From classic cheesecakes to chocolate treats, summer desserts to party favourites – everything you need is right here.
Classic No-Bake Cheesecake
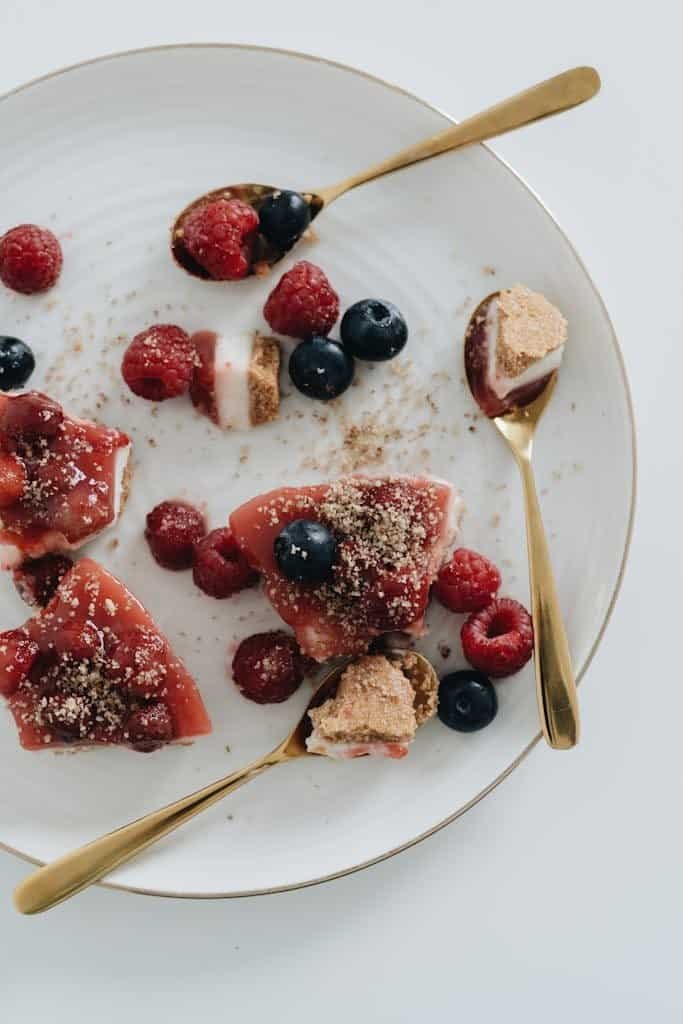
Let me start with the absolute king of no-bake desserts. I was terrified of making cheesecake for years because traditional baked ones seemed so complicated, but the no-bake version? Easy as!. The first time I made this for a family gathering, everyone assumed I’d been slaving away for hours. Nope. Twenty minutes of actual work, and the fridge did the rest.
Ingredients:
For the base:
- 250g digestive biscuits
- 100g unsalted butter, melted
For the filling:
- 600g full-fat cream cheese (I use Philadelphia Original), at room temperature
- 100g icing sugar
- 300ml double cream
- 1 tsp vanilla extract
- Zest of 1 lemon (optional)
For topping:
- Fresh berries or fruit of choice
- 2 tbsp icing sugar for dusting
Method:
- Line a 20cm springform tin with baking paper.
- Crush the digestive biscuits in a food processor until they look like fine crumbs. Alternatively, put them in a freezer bag and bash with a rolling pin (great for stress relief).
- Mix the biscuit crumbs with melted butter until it resembles wet sand.
- Press this mixture firmly into the bottom of your tin. Use the bottom of a glass to really compact it. Pop in the fridge for 30 minutes.
- Meanwhile, beat the cream cheese with icing sugar until smooth and creamy. An electric mixer makes this easier, but you can do it by hand.
- In a separate bowl, whip the double cream with vanilla extract until it forms soft peaks.
- Gently fold the whipped cream into the cream cheese mixture. Add lemon zest if using.
- Pour the filling over your chilled base and smooth the top with a spatula.
- Refrigerate for at least 6 hours, but overnight is better. Trust me on this – patience makes perfect.
- Before serving, top with fresh berries and dust with icing sugar.
Top tip: Run your knife under hot water and dry it before slicing for clean cuts every time.
Chocolate Peanut Butter Bars
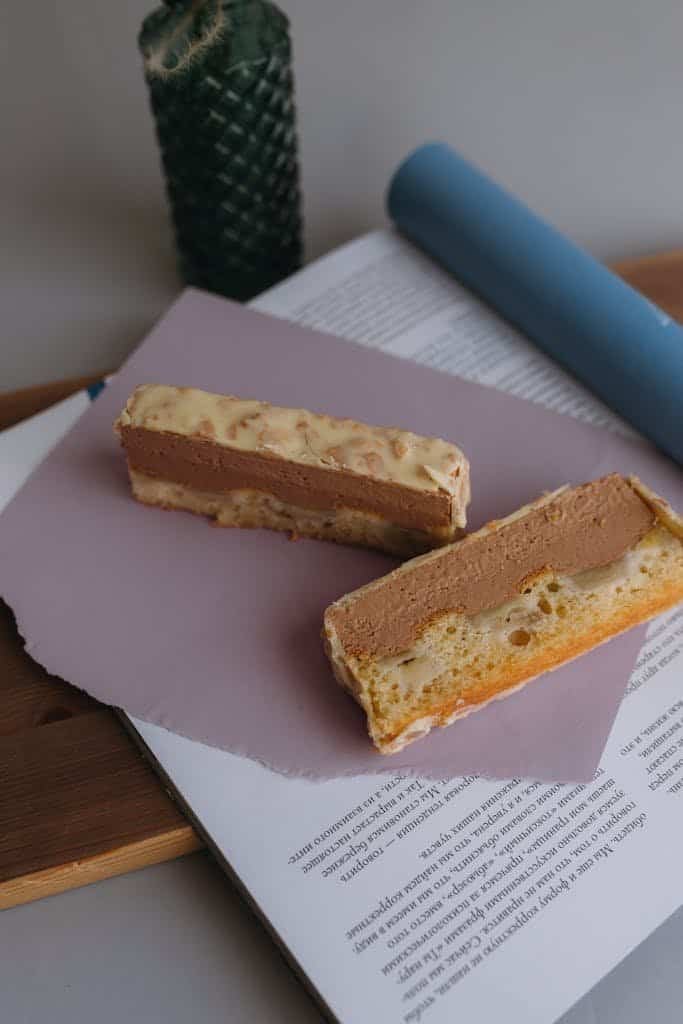
These are ridiculously easy and taste absolutely incredible. I once made these when I’d completely forgotten about a bake sale at my kids’ school, and they were the first thing to sell out. Nobody needs to know they took fifteen minutes, yeah?
Ingredients:
- 200g digestive biscuits, crushed
- 100g unsalted butter, melted
- 200g smooth peanut butter
- 100g icing sugar
- 300g dark chocolate, melted
- Sea salt flakes for sprinkling (optional)
Method:
- Line a 20cm square tin with baking paper.
- Mix crushed biscuits with melted butter and half the peanut butter.
- Press firmly into your lined tin. Chill for 15 minutes.
- Mix the remaining peanut butter with icing sugar until smooth.
- Spread this over your chilled base.
- Pour melted chocolate on top and spread evenly.
- Sprinkle with sea salt flakes if you’re feeling fancy.
- Refrigerate for 2-3 hours until set.
- Cut into squares with a sharp knife.
Storage: These keep in an airtight container in the fridge for up to a week, or freeze for up to 3 months.
No-Bake Lemon Tart
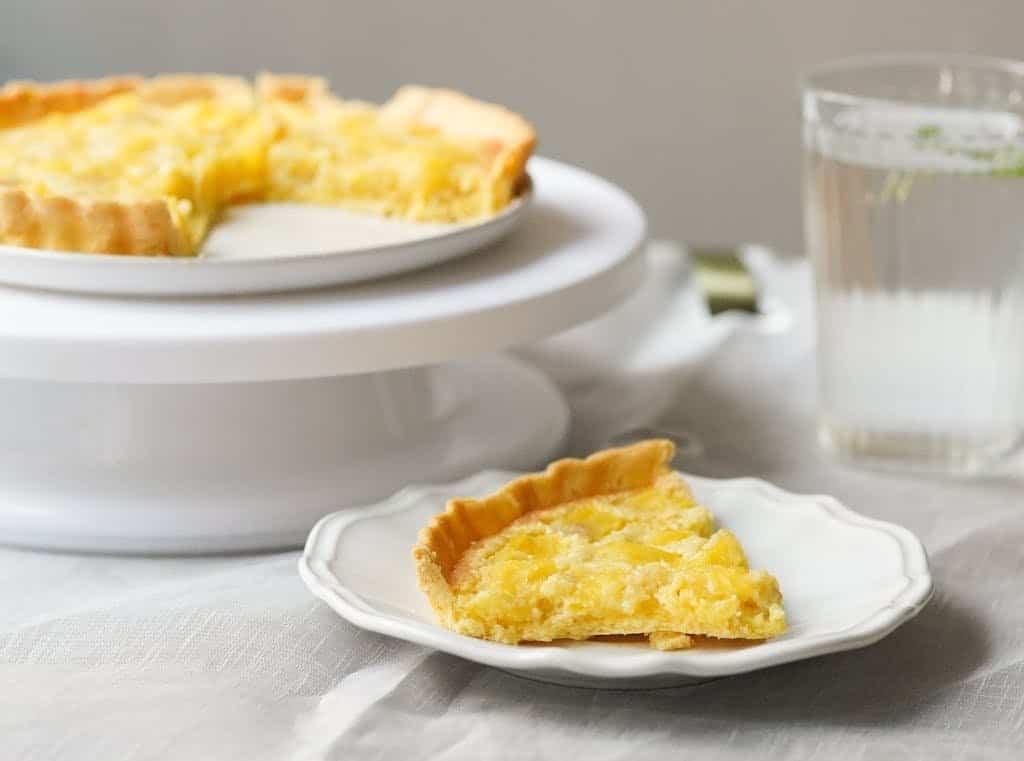
This is my signature summer dessert. The sharp, zingy lemon cuts through the richness beautifully, and it’s so refreshing on a hot day. There’s a bit of food science magic here – the acid in the lemon juice makes the condensed milk thicken without any cooking required.
Ingredients:
For the base:
- 200g ginger nut biscuits
- 75g unsalted butter, melted
For the filling:
- 397g tin condensed milk
- 200ml double cream
- Zest and juice of 4 large lemons (about 150ml juice)
- 1 tsp vanilla extract
For topping:
- Fresh raspberries or blueberries
- Icing sugar for dusting
Method:
- Crush ginger nuts and mix with melted butter.
- Press into a 23cm loose-bottomed tart tin. Really compact it down.
- Chill for 30 minutes.
- In a large bowl, whisk together condensed milk, double cream, lemon zest, lemon juice, and vanilla.
- The mixture will thicken as you whisk – this is the acid reacting with the milk. Magic!
- Pour over your chilled base.
- Refrigerate for at least 4 hours until set.
- Before serving, top with fresh berries and dust with icing sugar.
Pro tip: Don’t add the lemon juice too quickly or it can curdle. Pour it in gradually whilst whisking constantly.
Chocolate Tiffin
This is what I learnt to make first, and it’s genuinely hard to mess up. Even if your proportions are slightly off, you’ll still end up with something that tastes like chocolate and biscuits, so how bad can it be?
Ingredients:
- 200g digestive biscuits, roughly crushed
- 100g unsalted butter
- 50g golden syrup
- 300g dark chocolate, broken into pieces
- 100g milk chocolate, broken into pieces
- 75g raisins or dried cranberries
- 50g mini marshmallows (optional)
Method:
- Line a 20cm square tin with baking paper.
- Melt butter, golden syrup, and both chocolates together in a bowl over simmering water (or carefully in the microwave in 30-second bursts).
- Stir until smooth and glossy.
- Remove from heat and add crushed biscuits, dried fruit, and marshmallows.
- Mix well until everything’s coated in chocolate.
- Pour into your tin and press down firmly.
- Refrigerate for at least 3 hours.
- Cut into squares with a hot knife.
Variations: Add chopped nuts, swap raisins for dried apricots, or throw in some crushed Maltesers. This recipe’s very forgiving.
Oreo Cheesecake Jars
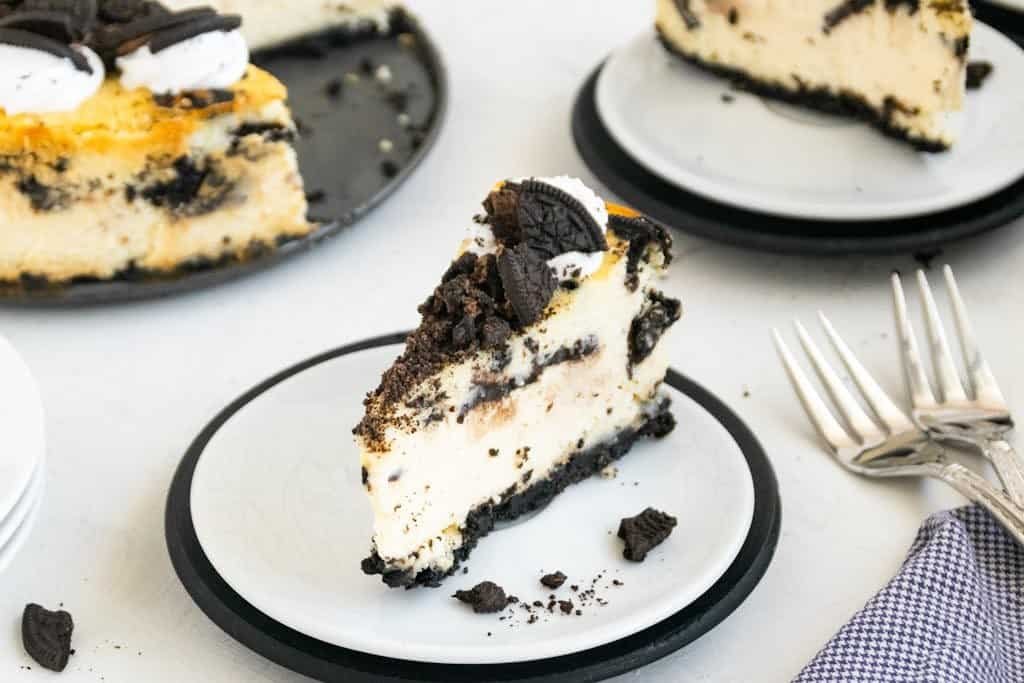
These individual portions are brilliant for parties because there’s no cutting or serving required, people just grab one. Plus, they look dead impressive lined up on a table.
Ingredients (makes 6-8 jars):
- 12 Oreos, plus 6 extra for topping
- 50g butter, melted
- 400g cream cheese, softened
- 75g icing sugar
- 200ml double cream
- 1 tsp vanilla extract
Method:
- Crush 12 Oreos finely and mix with melted butter.
- Divide between 6-8 small jars or glasses, pressing down firmly.
- Beat cream cheese with icing sugar until smooth.
- Whip double cream with vanilla until soft peaks form.
- Fold whipped cream into cream cheese mixture.
- Spoon or pipe the mixture over the Oreo bases.
- Crush the extra Oreos and sprinkle on top.
- Refrigerate for at least 3 hours.
Serving tip: These are lovely served with a small spoon. They set quite firm, so they’re easy to eat standing up at parties.
Summer Berry Icebox Cake
This is genuinely magical. You layer biscuits with whipped cream, refrigerate overnight, and the biscuits soften into cake-like layers. It’s one of the best things I’ve ever made, and it’s so simple it feels like cheating.
Ingredients:
- 2 packets (about 36) Rich Tea or Marie biscuits
- 600ml double cream
- 3 tbsp icing sugar
- 2 tsp vanilla extract
- 400g mixed fresh berries (strawberries, raspberries, blueberries)
- 2 tbsp honey
Method:
- Whip double cream with icing sugar and vanilla until stiff peaks form.
- In a rectangular dish (about 20x30cm), spread a thin layer of cream.
- Arrange a layer of biscuits on top, breaking them to fit if needed.
- Spread more cream over the biscuits.
- Add a layer of berries.
- Repeat layers until you’ve used all ingredients, finishing with cream.
- Cover and refrigerate overnight (minimum 8 hours).
- Before serving, top with remaining berries drizzled with honey.
The magic: The biscuits absorb moisture from the cream and soften into layers that taste like sponge cake. It’s brilliant.
Chocolate Peanut Butter Cups
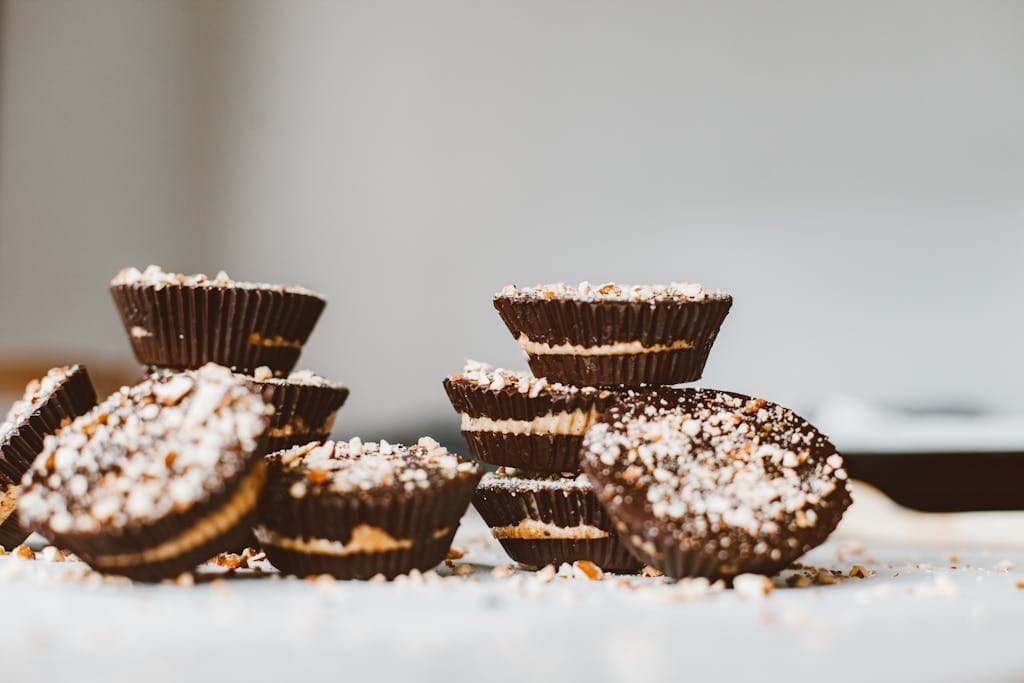
These look dead professional but are genuinely so simple. I make them in batches and keep them in the freezer for emergency chocolate fixes.
Ingredients (makes 12):
- 300g milk or dark chocolate
- 150g smooth peanut butter
- 50g icing sugar
- 25g unsalted butter, softened
Method:
- Line a 12-hole muffin tin with paper cases.
- Melt 200g chocolate and spoon into the paper cases, about 1 tbsp per case.
- Use the back of a spoon to spread chocolate up the sides slightly.
- Freeze for 15 minutes until set.
- Mix peanut butter, icing sugar, and softened butter until smooth.
- Spoon this mixture onto the set chocolate bases.
- Melt remaining chocolate and spoon over the peanut butter layer to cover completely.
- Refrigerate for at least 2 hours until set.
Storage: Keep in the fridge for 2 weeks or freeze for up to 3 months. They’re lovely eaten straight from the freezer too.
No-Bake Chocolate Mousse Tart
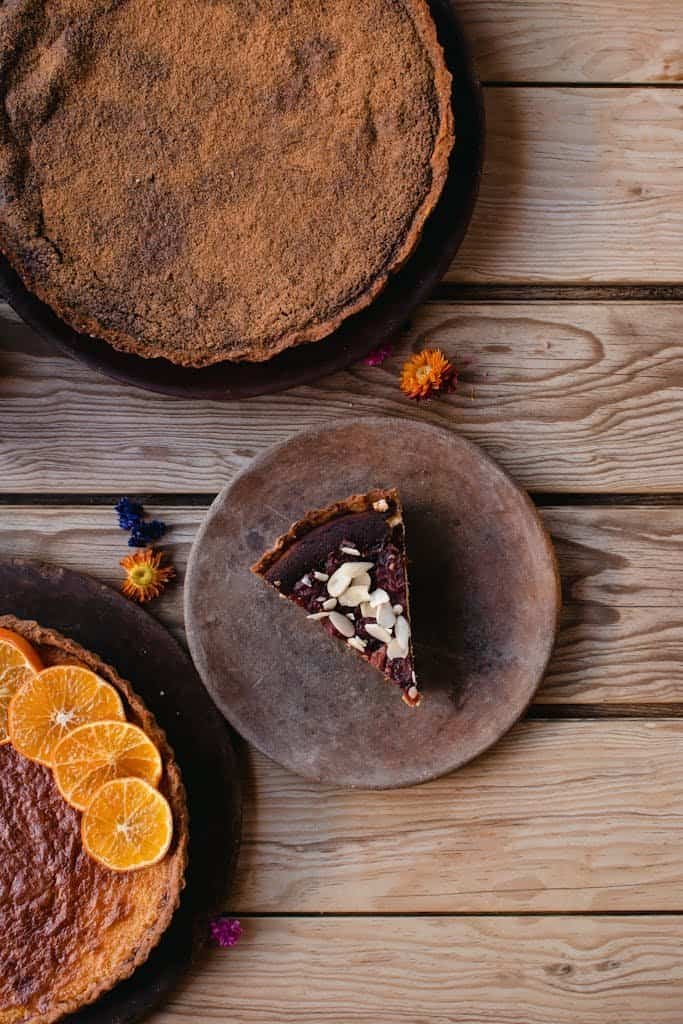
This is elegant enough for dinner parties but easy enough for a random Tuesday night. The mousse filling is incredibly rich and silky.
Ingredients:
For the base:
- 200g chocolate digestive biscuits
- 75g unsalted butter, melted
For the mousse:
- 300g dark chocolate (70% cocoa)
- 400ml double cream
- 3 large eggs, separated
- 50g caster sugar
- 1 tsp instant coffee (optional, but it enhances the chocolate flavour)
Method:
- Make the base by mixing crushed biscuits with melted butter.
- Press into a 23cm tart tin and chill for 30 minutes.
- Melt chocolate with 100ml of the cream and coffee if using. Let it cool slightly.
- Whisk egg yolks and add to the cooled chocolate mixture.
- Whip remaining cream to soft peaks and fold into chocolate mixture.
- In a clean bowl, whisk egg whites until foamy, then add sugar and whisk to stiff peaks.
- Gently fold egg whites into chocolate mixture in three additions.
- Pour over chilled base and refrigerate for at least 4 hours.
Tip: This contains raw eggs, so use fresh, high-quality eggs and serve the same day. Not suitable for pregnant women or young children.
Rice Krispie Treat Variations
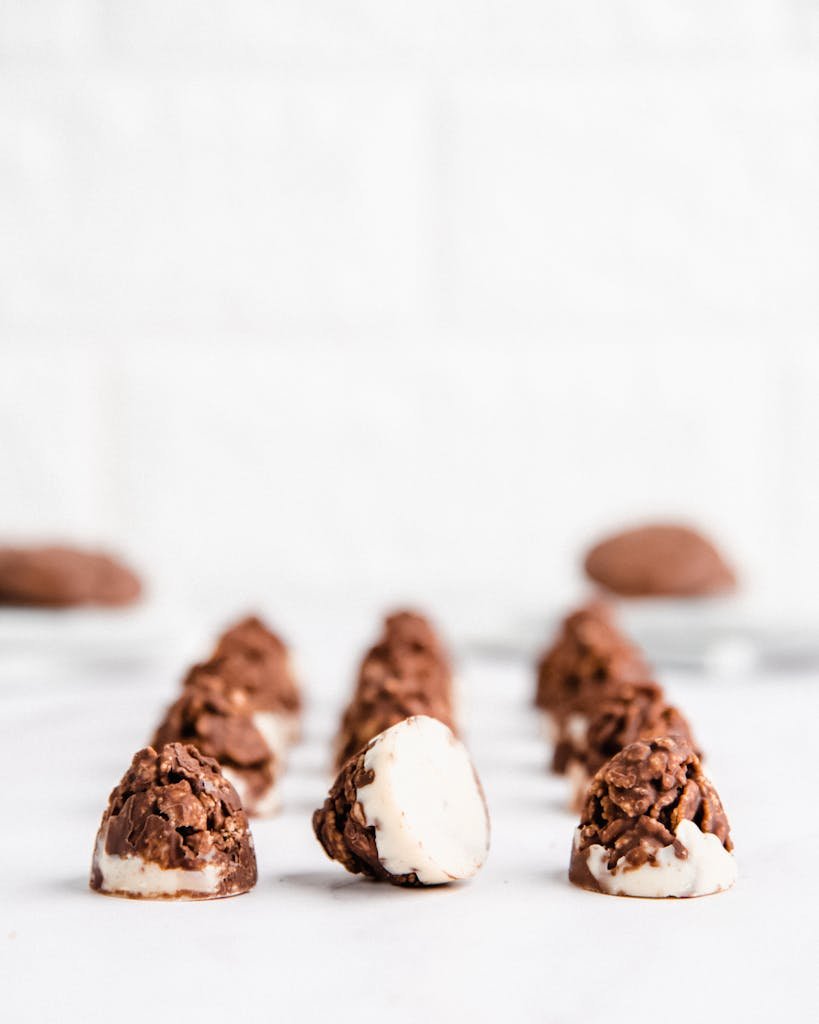
The basic recipe is genuinely hard to mess up, and it’s perfect for getting kids involved. I’ve made loads of variations over the years – here’s my current favourite.
Classic Recipe:
- 50g unsalted butter
- 300g marshmallows
- 150g Rice Krispies cereal
- Pinch of salt
Method:
- Melt butter in a large saucepan.
- Add marshmallows and stir until completely melted.
- Remove from heat, add salt, and stir in Rice Krispies.
- Press into a lined 20cm square tin.
- Let cool for 30 minutes, then cut into squares.
My Favourite Variations:
Chocolate Chip: Add 100g chocolate chips to the mixture before pressing into the tin.
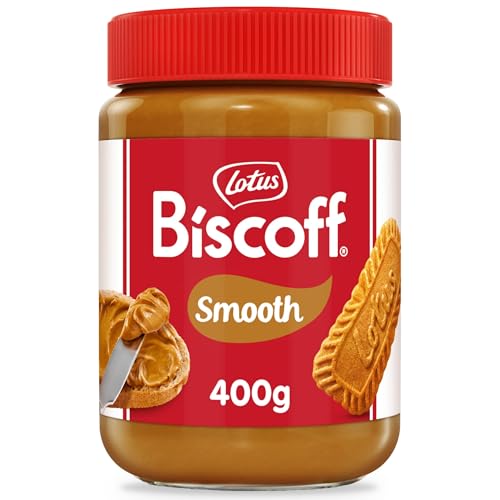
Biscoff: Swirl 3 tablespoons of Lotus Biscoff spread through the mixture before pressing.
Fruity: Mix in 50g dried cranberries and 50g white chocolate chips.
Birthday Cake: Add 2 tsp vanilla extract and 50g rainbow sprinkles.
Baileys Chocolate Truffles
These are brilliant for gifts or after-dinner treats. They look fancy but are dead easy to make, and the Baileys gives them a lovely adult flavour.
Ingredients (makes about 20):
- 200g dark chocolate, finely chopped
- 100ml double cream
- 50ml Baileys Irish Cream
- Cocoa powder, for coating
Method:
- Put chopped chocolate in a heatproof bowl.
- Heat cream until just boiling, then pour over chocolate.
- Leave for 2 minutes, then stir until smooth.
- Add Baileys and mix well.
- Cover and refrigerate for 3-4 hours until firm.
- Using a teaspoon, scoop out mixture and roll into balls.
- Roll in cocoa powder to coat.
- Store in the fridge for up to 1 week.
Variations: Roll in crushed nuts, desiccated coconut, or icing sugar instead of cocoa.
Banoffee Pie
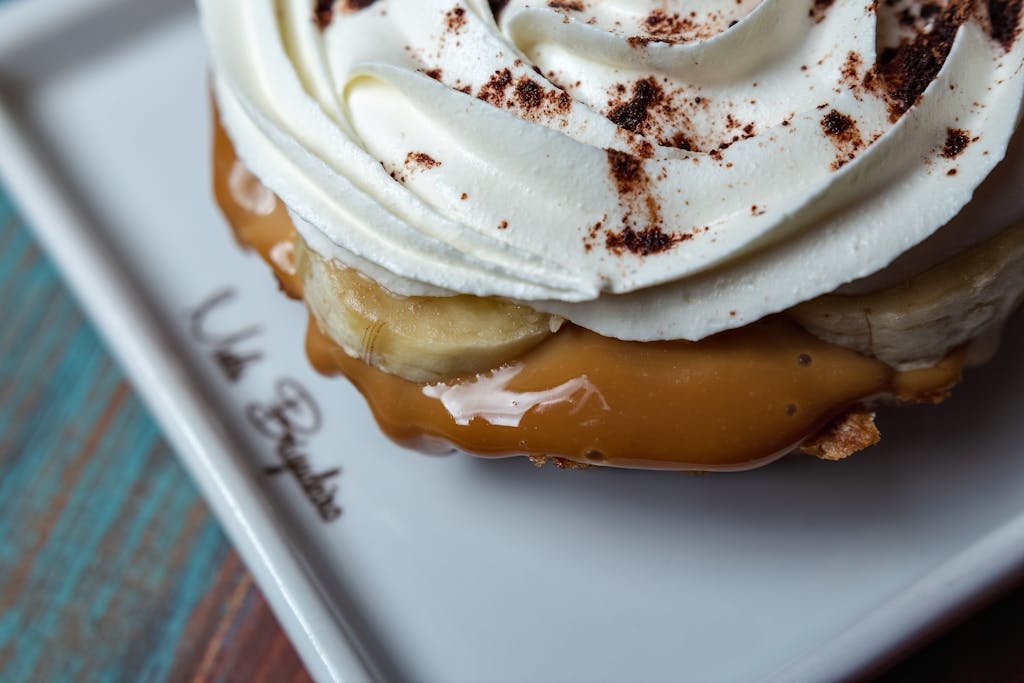
This is a proper classic that everyone loves. The combination of biscuit base, toffee, bananas, and cream is absolutely gorgeous. I make this whenever I need to impress someone.
Ingredients:
For the base:
- 250g digestive biscuits
- 100g unsalted butter, melted
For the filling:
- 397g tin condensed milk (to make the toffee)
- 3-4 ripe bananas, sliced
- 300ml double cream
- 2 tbsp icing sugar
- Dark chocolate, for grating
Method:
- Make the base by mixing crushed biscuits with melted butter. Press into a 23cm loose-bottomed tin. Chill.
- To make toffee: Place unopened tin of condensed milk in a large saucepan. Cover completely with water.
- Boil for 3 hours, topping up water regularly. The tin must stay covered or it could explode (I’m not joking).
- Let cool completely before opening. You’ll have thick, golden toffee.
- Spread toffee over biscuit base.
- Arrange sliced bananas on top.
- Whip cream with icing sugar until stiff peaks form.
- Spread or pipe cream over bananas.
- Grate dark chocolate over the top.
- Refrigerate for at least 2 hours before serving.
Safety note: That tin gets seriously hot during boiling. Let it cool completely before opening.
Shortcut: You can buy tinned caramel (Carnation Caramel) instead of making your own toffee. Works perfectly well.
No-Bake Chocolate Orange Tart
The combination of chocolate and orange is classic for a reason. This tart is rich, zesty, and looks dead posh.
Ingredients:
For the base:
- 200g chocolate Hobnobs or chocolate digestives
- 75g unsalted butter, melted
For the filling:
- 300g dark chocolate
- 300ml double cream
- Zest of 2 large oranges
- 2 tbsp orange liqueur (Cointreau or Grand Marnier) – optional
For decoration:
- Candied orange peel or fresh orange segments
Method:
- Crush biscuits and mix with melted butter. Press into a 23cm tart tin. Chill for 30 minutes.
- Heat cream with orange zest until just boiling.
- Pour over chopped chocolate and leave for 2 minutes.
- Stir until smooth and glossy. Add orange liqueur if using.
- Pour over chilled base.
- Refrigerate for at least 4 hours.
- Decorate with candied orange peel or fresh segments before serving.
Tip: Let the tart sit at room temperature for 10 minutes before serving so the chocolate isn’t too firm to slice.
Troubleshooting Common Problems
Let me share the most common mistakes I’ve made so you can avoid them:
Dessert won’t set: Usually means wrong ratios or not enough chilling time. Most no-bake desserts genuinely need 6+ hours in the fridge. If it’s still runny after overnight chilling, you might be able to rescue it by adding dissolved gelatin.
Soggy base: This happens when the base isn’t compact enough or there’s too much butter. Really press down firmly when making your base. Use the bottom of a glass to compact it properly.
Lumpy cream cheese: Always let cream cheese come to room temperature before mixing. Cold cream cheese won’t beat smooth and you’ll have lumps in your filling.
Melted chocolate seizing: This happens when even a drop of water gets into melted chocolate. Make sure all your bowls and spoons are completely dry. If it seizes, try whisking in a tablespoon of vegetable oil to bring it back.
Whipped cream won’t hold: Your cream might be too warm. Chill your bowl and beaters in the freezer for 10 minutes first, and make sure you’re using double cream, not single.
Start Your No-Bake Adventure Now!
I think that’s enough dessert talk to keep you busy for a while! The brilliant thing about no-bake desserts is that once you’ve mastered a few basic techniques – making a biscuit base, whipping cream, melting chocolate – you can pretty much make anything. They’re forgiving, adaptable, and honestly perfect for when you want something delicious without the stress of baking.
Start with something simple like the Rice Krispie treats or chocolate tiffin, build your confidence, then work your way up to the cheesecakes and tarts. Remember that most no-bake disasters are salvageable – worst case scenario, you serve it in glasses and call it a parfait.
Keep your fridge stocked with cream cheese, double cream, and condensed milk, and you’ll never be caught out when you need a quick dessert. Make double batches and freeze portions for emergencies. And most importantly, don’t stress about perfection – home-made desserts don’t need to look like they’ve come from a fancy bakery to taste absolutely gorgeous.
Now go forth and make something sweet! And if you’ve got favourite no-bake recipes or brilliant variations on the ones I’ve shared, I’d love to hear about them in the comments. We’re all learning together, yeah?
Want more baking inspiration? Check out these helpful resources:

