The Ultimate Delicious Chocolate Cake: A Foolproof Guide
Learn how to create the most delicious chocolate cake with this simple recipe. It’s perfect for beginners and includes expert tips and a troubleshooting guide.
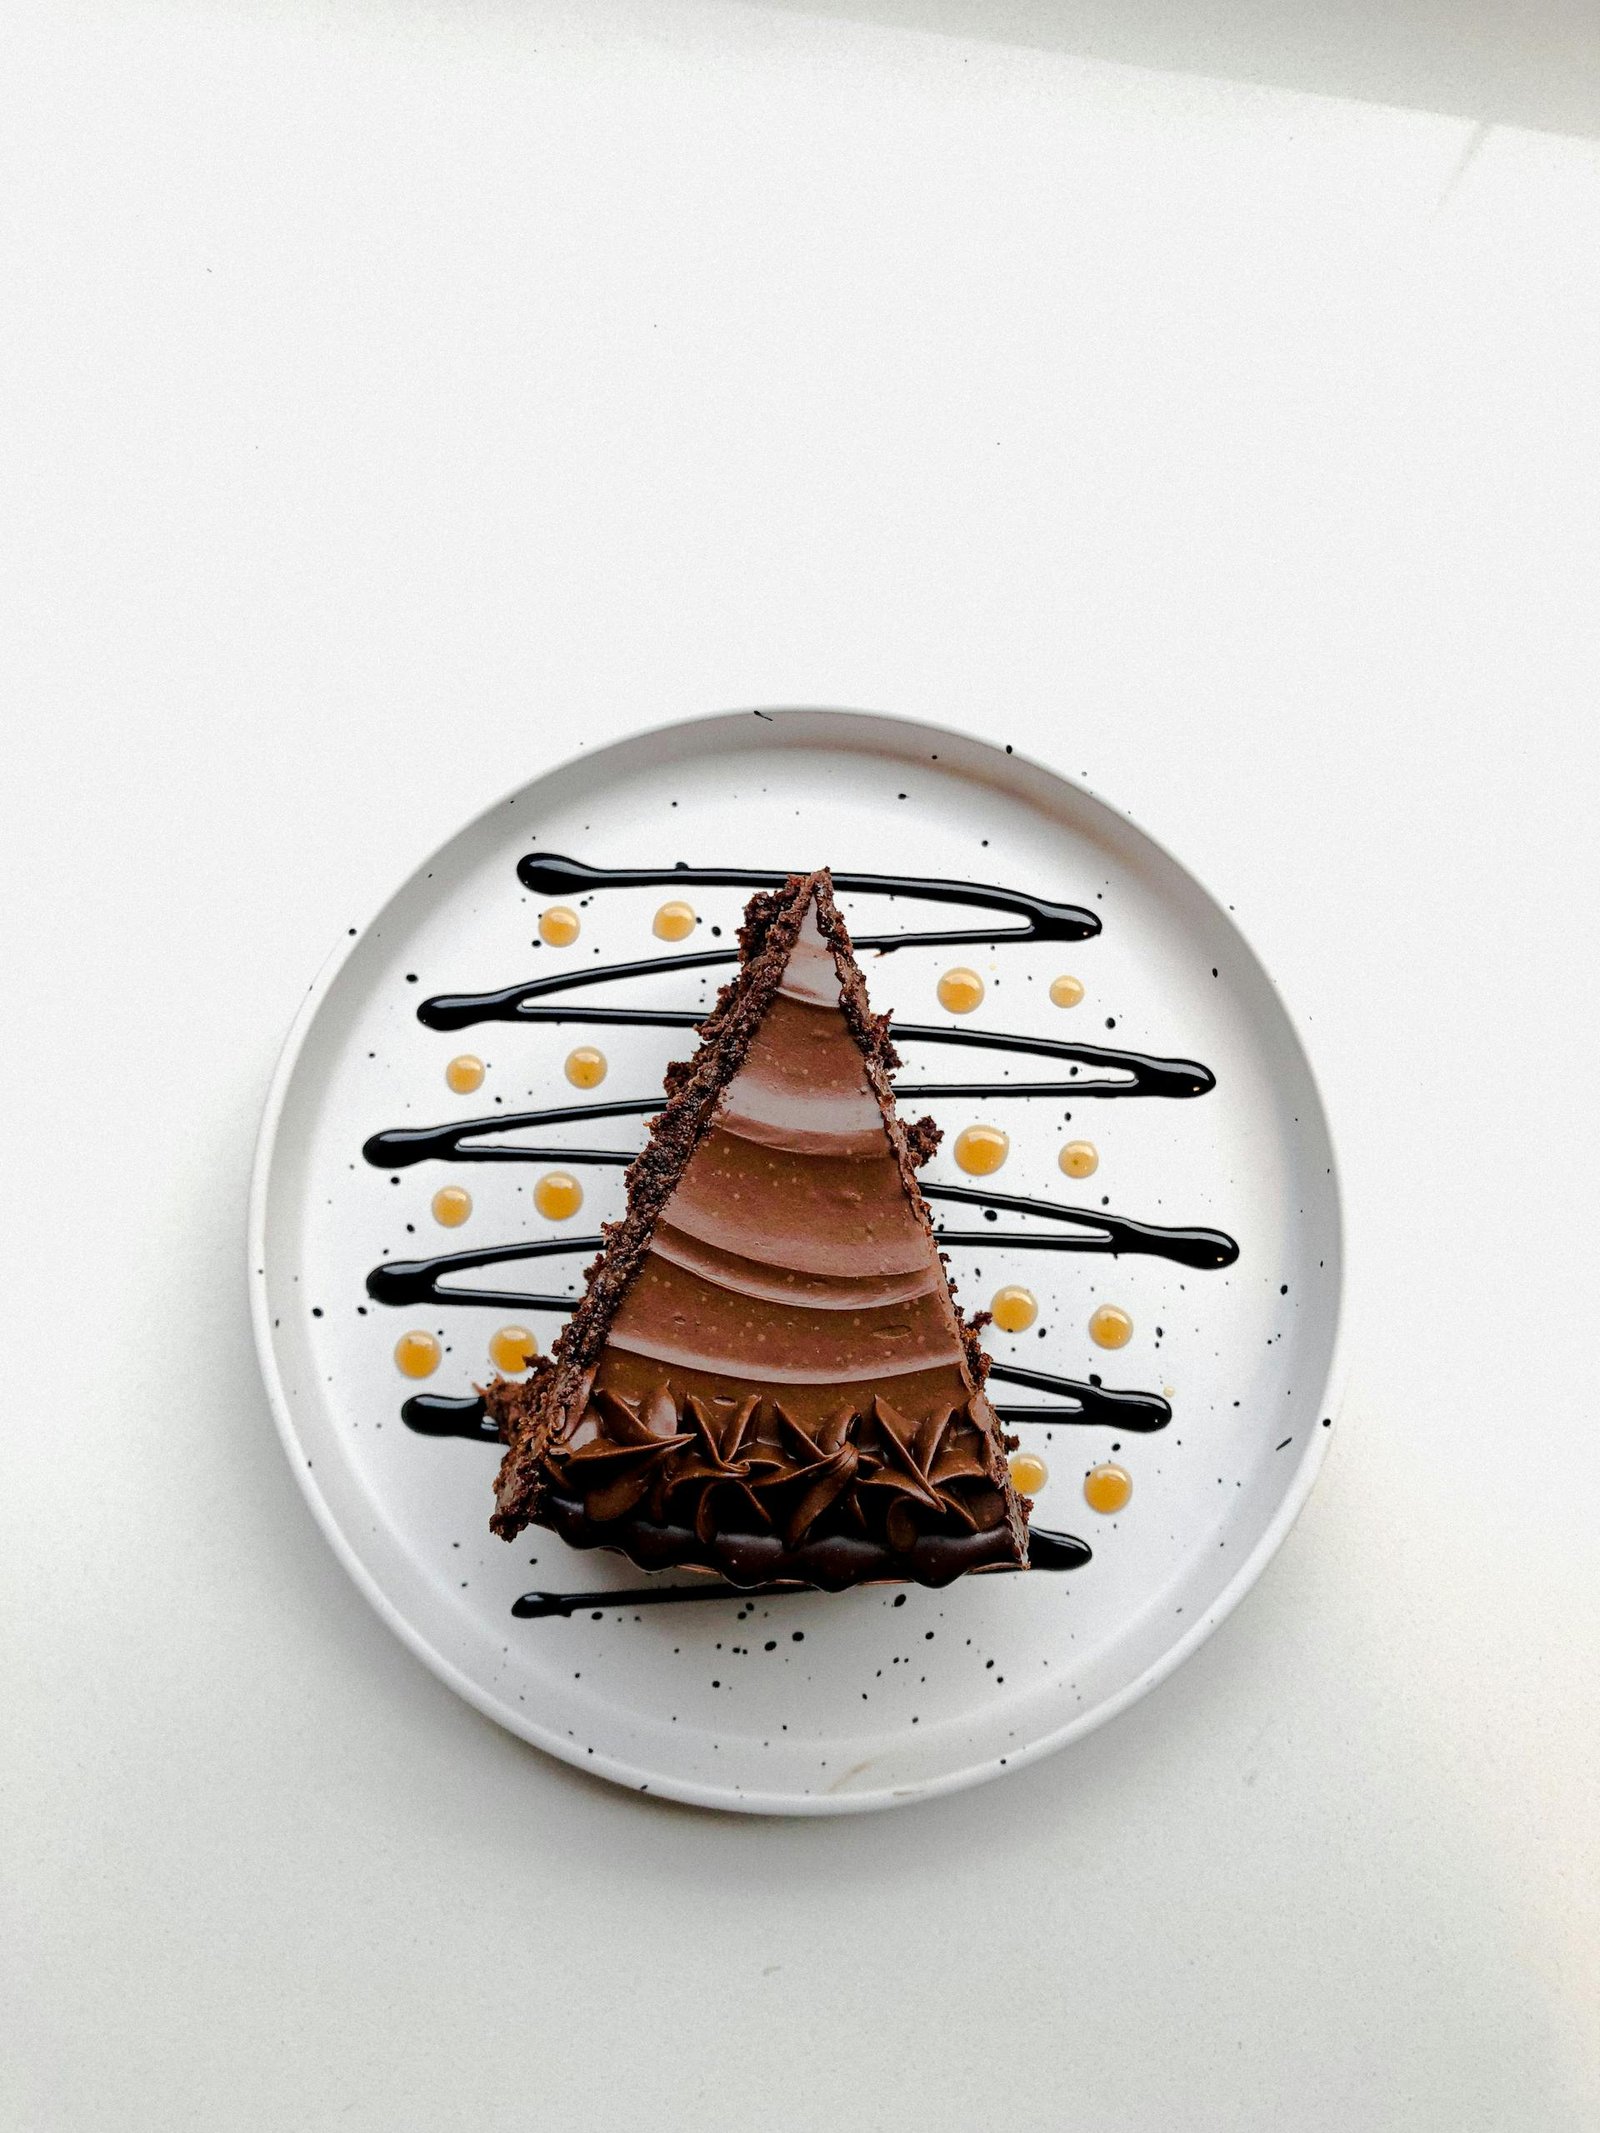
Get ready to learn how to make the most incredible chocolate cake you’ve ever tasted! After years of baking, I’ve honed this guide that never fails to impress. Trust me, your friends will be asking for more!
Essential Ingredients for the Perfect Chocolate Cake
Not all cocoa powders are created equal! I once tried to save a few bucks by using cheap cocoa powder from the corner store, and my cake ended up tasting like cardboard. Now, I always use Callebaut Cocoa Powder (it’s totally worth it!).
For the wet ingredients, you’ll need room temperature eggs (this is super important!), vegetable oil (I prefer Filippo Berio), and buttermilk. If you can’t find buttermilk, no problem! Just add a tablespoon of lemon juice to regular milk and let it sit for 5 minutes. It works like a charm!
Your dry ingredients are pretty simple, but here’s a beautful tip! add a pinch of espresso powder to your mix. I use Medaglia D’Oro Instant Espresso Coffee – you won’t taste the coffee, but it really intensifies the chocolate flavor!
Here’s a quick comparison of my favourite cocoa powders:
| Brand | Best For | Rating |
|---|---|---|
| Callebaut | Overall best | 5/5 |
| Green & Black’s | Budget option | 4/5 |
| Ghirardelli | Rich flavour | 4.5/5 |
| Valrhona | Professional results | 5/5 |
For this recipe, you’ll need two 9-inch cake tins (I highly recommend the MasterClass Non-Stick ones), a reliable stand mixer (if you want to go all out), or a hand mixer will work just as well. Personally, I prefer my trusty KitchenAid hand mixer for this.
Step-by-Step Mixing Instructions
Alright, let’s get started with the mixing!
First off, make sure everything is at room temperature. I can’t emphasise this enough! One time, I was in such a hurry that I used cold eggs, and my cake ended up looking like the surface of the moon. Not exactly the look you want for your nan’s birthday tea, right?
Begin by sifting your dry ingredients together. I know it might be tempting to skip this step, but it really makes a huge difference in the final texture. You want your cake to be silky smooth, not filled with lumps of cocoa powder!
When it comes to combining the wet and dry ingredients, here’s my method: add the wet ingredients to the dry ones in three stages. I picked up this tip from my old pastry chef friend, and it’s fantastic for avoiding that dreaded overmixing. You want to mix just until everything is combined – it should resemble a thick, glossy magazine cover.
Speaking of mixing, let’s discuss the proper beating techniques. You know that satisfying moment when you’re creaming butter and sugar, and it becomes all light and fluffy? Well, we’re using oil instead of butter here (it actually makes for a moister cake, believe it or not!). Just mix until everything is well combined – about 2 minutes on medium speed should do the trick.
Baking Tips for Amazing Results
Make sure your oven is preheated to 180°C (160°C for fan ovens), and I mean really at that temperature, not just what the dial says.
Here’s my tip for preparing the cake tins: butter them well, line the bottom with parchment paper, and then dust with cocoa powder instead of flour. I used to use flour until a friend pointed out that it leaves white marks on the outside of your chocolate cake. I felt pretty silly for not realising that sooner!
For timing, you’re looking at 30-35 minutes, but here’s the catch – every oven is different. The best test isn’t the timer – it’s when a skewer comes out clean with just a few moist crumbs.
Decadent Chocolate Frosting Guide
The secret? A blend of both dark and milk chocolate. I use Lindt Excellence Dark 70% and Cadbury Dairy Milk for the perfect balance.
For a truly luxurious buttercream, you’ll want to use high-quality butter. Kerry Gold Unsalted Butter is my favourite. Beat it until it’s nice and pale before adding your melted chocolate mixture.
Want to try something different? My chocolate ganache recipe is super easy: equal parts double cream and chocolate. Heat the cream until just bubbling, pour it over chopped chocolate, wait 5 minutes, then stir until smooth. Delicious!
Common Mistakes and Troubleshooting
Let’s discuss some of the biggest cake disasters and how to steer clear of them.
Is your cake sinking in the middle? You might be opening the oven door too soon – I used to do this all the time, eager to check on my creation. Now, I make it a point to wait at least 25 minutes before even considering a peek.
Is your cake dry? That often happens due to overbaking. Keep in mind that the cake continues to cook a little after you take it out of the oven. I usually take mine out when there are still a few moist crumbs on the skewer – not wet batter, just crumbs.
One of the most frequent frosting issues I encounter is buttercream that’s too soft. Just pop it in the fridge for 15 minutes, then give it another beat. It works wonders! I rely on my KitchenAid Stand Mixer with the paddle attachment (totally worth the investment) for the smoothest results.
Serving and Storage Suggestions
Now, let’s chat about how to make your cake look truly impressive! I love using my 360-degree rotating cake stand (the Kootek Aluminium Alloy) to achieve those perfectly smooth sides. A great tip I picked up from a baker friend: warm your palette knife under hot water and dry it off before smoothing the frosting – it gives you that professional touch!
When it comes to storage, please avoid putting your cake in the fridge right away! It dries out the cake faster than a hot summer day. Let it reach room temperature first, then store it in an airtight container. I swear by the Sistema KLIP IT cake container – it’s fantastic for keeping everything fresh.
Recipe Variations and Customisations
Looking to make this cake gluten-free? No problem! I recommend using Bob’s Red Mill Gluten Free 1-to-1 Baking Flour – it’s indistinguishable from regular flour.
For a dairy-free option, just replace the buttermilk with coconut milk and add a little apple cider vinegar. It works like a charm! I even made this for my vegan friend’s wedding (no pressure there!), and it was a hit.
The Sweet Success
So there you have it, everyone! My reliable chocolate cake guide that has never failed me (well, except for that one time I forgot to set the timer… but let’s not dwell on that!). Remember, baking should be enjoyable, so don’t worry if it doesn’t turn out perfectly the first time.
What’s the secret to success? Using room temperature ingredients, measuring accurately, and having a bit of patience (which I’m still trying to master!). And if things go awry, just slather on some extra chocolate ganache – I don’t think anyone has ever complained about too much chocolate!

