Top 3 Thai Curry Recipes Using Supermarket Ingredients
Turn ordinary supermarket ingredients into authentic Thai curries with my Thai curry recipes! Learn tips and easy recipes for restaurant-quality results.
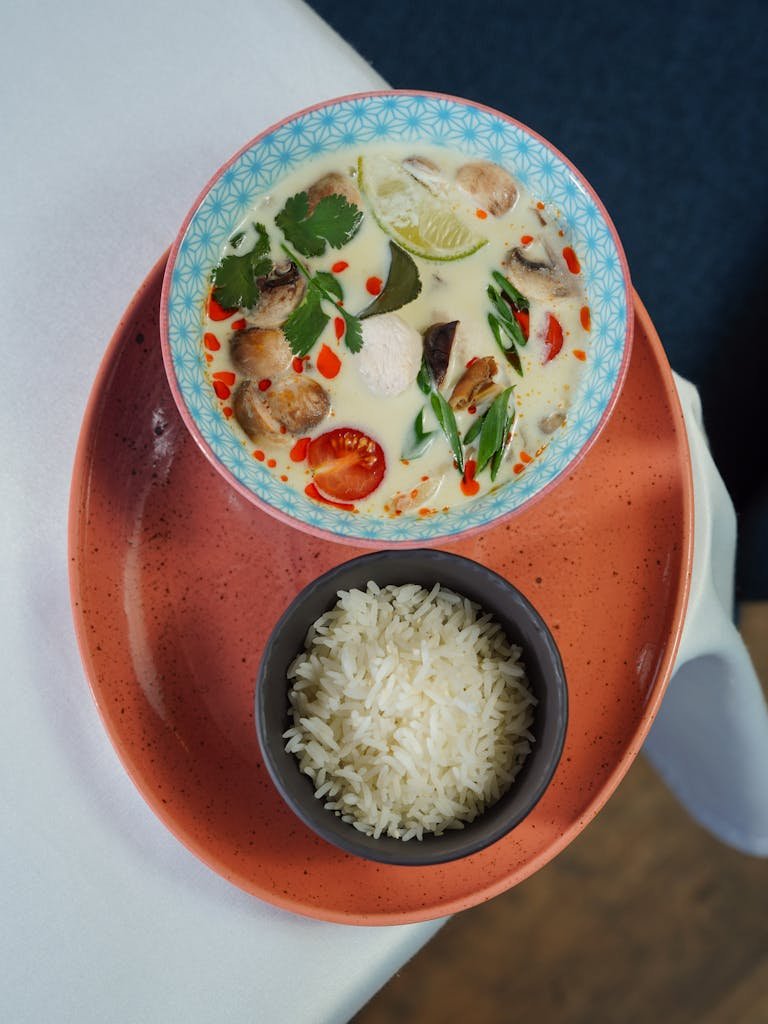
I’ll always remember the day I followed my first Thai curry recipe and I completely messed up my first attempt at making Thai curry. The sauce turned out as thin as water, the spice level was off the charts, and my kitchen smelled like burnt garlic for days! I’m excited to share how you can whip up authentic Thai curries using ingredients you can find at your local supermarket.
Essential Thai Curry Recipe Ingredients You Can Find at Any Supermarket
Let me tell you about my funny search for galangal! After visiting three different stores and getting plenty of puzzled looks from the staff, I found out that ginger is a fantastic substitute. While traditional Thai curry recipe ingredients are amazing, I’ve discovered some clever alternatives that work just as well.
When it comes to curry pastes, I’ve tried many and can confidently say that Mae Ploy is your best option. While making your own curry paste is nice, this brand consistently gives you restaurant-quality results.
The one ingredient you absolutely cannot skip is coconut milk. After many disappointing Thai curries, I’ve realised that Chaokoh is the best choice – quite literally! Its higher fat content creates a luxuriously thick curry sauce. I picked up this tip from my neighbour, who practically staged an intervention when she saw me using light coconut milk. Never again!
Here’s what you’ll need from your local supermarket:
- Coconut milk (full-fat only, please!)
- Thai curry paste (red, green, or yellow)
- Fish sauce (or soy sauce for vegetarians)
- Palm sugar (brown sugar works in a pinch)
- Fresh lime leaves (bay leaves can substitute)
- Fresh coriander
- Garlic and shallots
- Fresh chillies
Mastering the Authentic Thai Curry Recipe Base
The secret to a proper Thai curry is what I like to call the “golden ratio” – 2 tablespoons of paste to one 400ml tin of coconut milk. The trick is to crack the coconut cream first, a technique that took me quite a while to master.
Here’s my reliable method:
- Begin with room temperature coconut milk. Avoid shaking the tin! Open it carefully and scoop out the thick cream from the top.
- Heat your wok (Read my full-proof Best Woks for cooking ) until it’s nice and hot.
- Add the cream and curry paste, then fry until the oil separates and the mixture becomes aromatic. This process is known as “cracking” the coconut cream among Thai cooks.
One common mistake I often see is adding the Thai curry paste to liquid coconut milk. That leads to a watery curry!
Red Thai Curry Recipe: A Foolproof Beginner’s Guide
My red Thai curry recipe has gained a bit of a reputation among my friends – perhaps because I insisted on making it at every dinner party for about three months while perfecting it!
For the best results, you’ll need:
- 2 tbsp Mae Ploy Red Curry Paste
- 400ml Chaokoh Coconut Milk
- 500g chicken thighs (better than breast – trust me on this!)
- 2 tbsp fish sauce (I use Squid Brand)
- 1 tbsp palm sugar
- Thai basil (regular basil works too)
- Your choice of vegetables
The key is in the timing. Begin by frying your curry paste in the coconut cream until you notice small droplets of red oil surfacing – it took me years to realise that this step is essential! Next, add your protein, followed by the vegetables in the order they need to cook. I’ve spoiled countless Thai curry recipes by tossing everything in at once, resulting in mushy veggies and undercooked chicken.
Green Thai Curry Recipe: Tips for Restaurant-Quality Results
After getting the hang of red Thai curry, I assumed green Thai curry would be easy. I was so mistaken! My first try ended up being more like a bowl of spicy milk with some vegetables floating around. The trick is to find that perfect balance of heat and aromatics.
The main difference with green Thai curry is its subtle flavour profile. I’ve found that Mae Ploy Green Curry Paste is a fantastic base. Here’s a surprising tip – adding just a tiny pinch of cumin (yes, you read that right!) can help mimic that authentic Thai curry taste when you can’t get your hands on traditional Thai ingredients.
For the ideal green curry sauce:
- 2-3 tbsp Mae Ploy Green Curry Paste (adjust according to your heat preference)
- 400ml Chaokoh Coconut Milk
- 2 tbsp fish sauce
- 1 tbsp palm sugar
- 4-5 kaffir lime leaves (or substitute with 2 bay leaves + lime zest)
- Thai basil (or regular basil if you’re in a pinch)
- Green peppercorns if available
I’ve learned that the secret to a vibrant green Thai curry is in the order you add the vegetables. Start with your aromatics, then add firmer veggies like bamboo shoots and eggplant first. Save the softer ones like baby corn and sugar snap peas for the last 3-4 minutes.
Pro tip: If your Thai curry ends up being too spicy, don’t reach for the sugar – instead, mix in some coconut cream at the end. It does wonders for balancing the heat while keeping that authentic flavor intact.
Read more about the history of Thai Green Curry
Yellow Thai Curry Recipe: The Comfort Food Classic
Yellow Thai curry has a special place in my heart – it was the first Thai curry I ever made, and now it’s my go-to dish for dinner parties. It’s milder than the red and green varieties, making it ideal for those who are new to Thai curries.
The base for yellow Thai curry is a bit different. I use:
- Mae Ploy Yellow Curry Paste
- 400ml coconut milk
- 2 medium potatoes, cubed
- 1 large onion, chunked
- 2 tbsp fish sauce
- 1 tbsp palm sugar
- 400g chicken thighs (or chickpeas for a vegetarian option)
Here’s a fantastic tip I picked up from a Thai street food vendor: par-boil your potatoes before adding them to the curry. This way, they turn out perfectly tender without making the sauce overcooked.
For a vegetarian version, I’ve found that firm tofu works wonderfully – just be sure to press it well beforehand.
Storage, Meal Prep, and Freezing Guidelines
I once made a massive batch of green Thai curry for a dinner party, stored it in a regular plastic container, and ended up with a freezer that smelled like Thai food for months!
For the best storage:
- Let the curry cool completely (no more than 2 hours at room temperature)
- Use airtight glass containers (I swear by Sistema BPA-Free containers. Check out my Best Meal Prep Containers for more info)
- Keep it in the fridge for up to 3 days
- Freeze it for up to 3 months
Here’s my tried-and-true freezing method:
- Slightly undercook your vegetables if you plan to freeze
- Cool the curry completely
- Portion it into serving sizes
- Use vacuum-seal bags if you can
- Label with the date and type of curry
When it’s time to reheat, here’s a pro tip: add a splash of coconut milk and some fresh herbs just before serving. This helps restore that fresh, vibrant taste that can sometimes fade during storage.
For meal prep, I’ve found that making the curry paste and coconut milk base ahead of time works wonders. Store them separately and mix with fresh vegetables when you’re ready to eat.
Your Journey to Thai Curry Recipe Mastery
What a journey it’s been! From watery disasters to restaurant-quality Thai curries, I hope my trials and errors help you skip straight to curry success. Remember, authentic Thai curry isn’t just about having every traditional ingredient – it’s about grasping the techniques and finding smart ways to work with what’s on hand.
Don’t hesitate to play around with different ingredients and make these Thai curry recipes your own. Some of my best Thai curry discoveries have come from happy accidents (like the time I accidentally used sweet potato instead of regular potato in yellow curry – it turned out amazing!).
I’d love to hear about your Thai curry adventures! Feel free to drop a comment below sharing your favourite combinations or any creative substitutions you’ve come up with.
Remember, every great Thai cook started somewhere. So grab those supermarket ingredients, fire up your wok, and let’s get cooking! Just maybe keep the takeaway menu handy for your first attempt – though I promise you won’t need it for long! 😉

